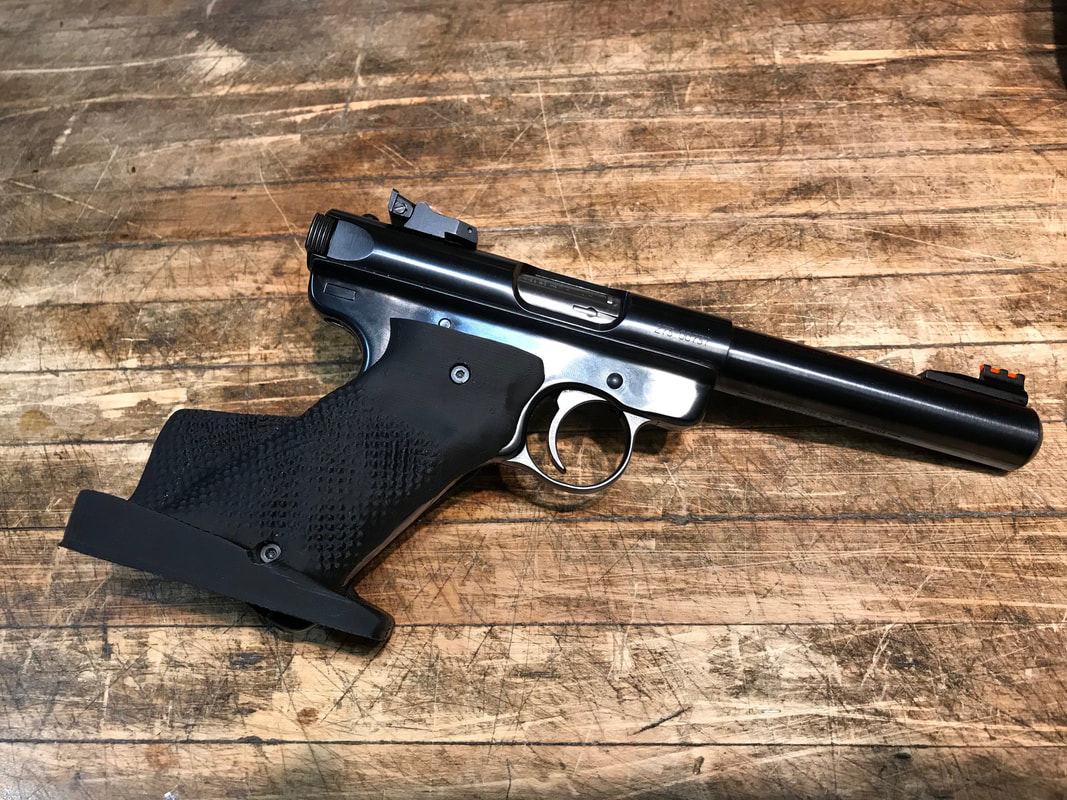
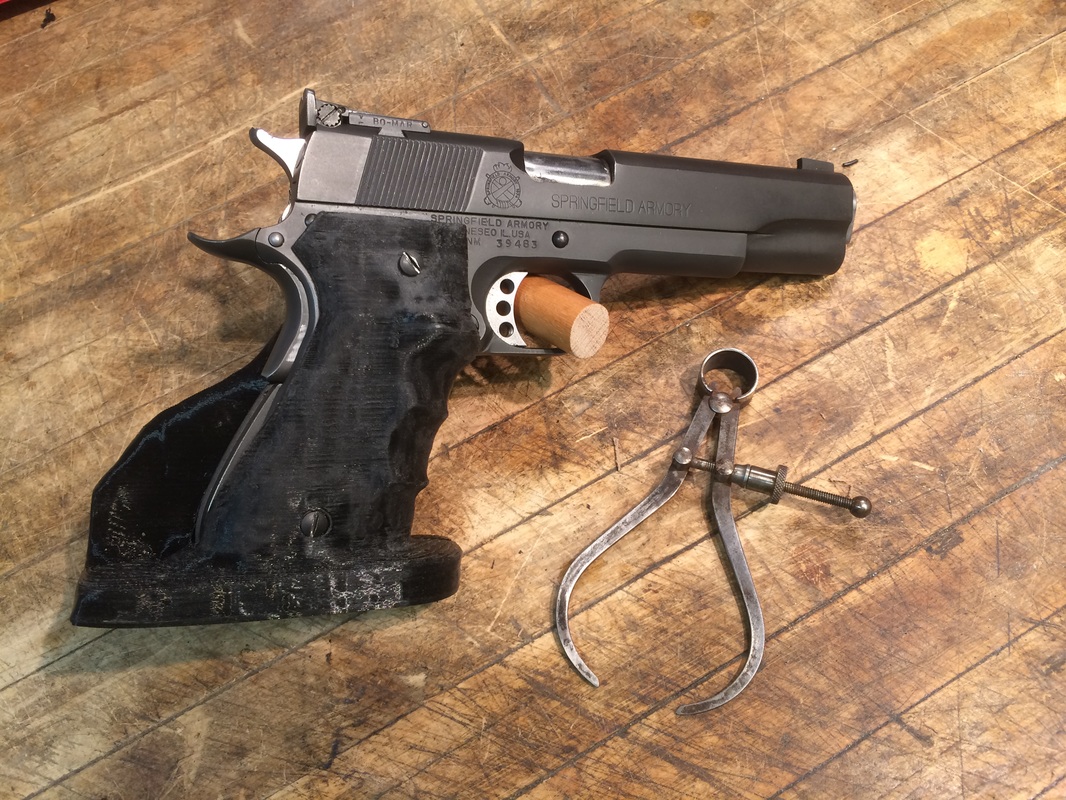
 Maybe it was 85 and raining at Camp Perry or perhaps you were on your last string of fire and closing in on your personal best score. Regardless, you've had to deal with a wet or sweaty hand on your gun. Traditional wood grips generally deal with this issue by stippling a portion of the grip. A stipple is a surface, generally cut into the grip with a sharp tool, that provides some additional texture on an otherwise smooth grip. Utilziing the exceptional detail possible with 3d printing, you can specify to what degree you would like your grip stippled. From a golf-ball dimpling to a wire brush in your hand, a range of surface aggressiveness options are available. See above for an example of a stipple of about a 4 on a 1-10 aggressiveness scale. If instead you would like to stipple the grip yourself, I would suggest using a fine point on a soldering iron. It is tedious work, but the results can quite effective. See below for a soldering iron applied stipple. Alternatively, you can go a couple of other routes. Jimmy, whose grip also sports a great paint job, used simple grip tape. Grip tape is cheap, removable and easy to apply. Finally, some of my shooters on the college team I coach keep a rosin bag at hand. You can make your own with a zip-lock bag, some baby powder and a small square of cloth.
2 Comments
The one area I'm most eager to see continued development in post-printing grip finishing is staining the wood composite grips. While the grips feel like wood in your hand, you won't without lots of work soon mistake them for a beautiful piece of black walnut. The challenge in working with stain on the grips is liquid does not readily soak into the grip as it would if it was a solid piece of wood.
There are some YouTube video of cos-players finishing their 3d-printed pieces with various paints and stains you might want to explore. However Craig B, who shoots an LP-10e has had some success he is happy to share. Below is what he wrote and a picture of his LP10e grip. The stain took to the material well. Search the web for alcohol based wood stains, you can find a lot of info. I discovered from various forums on the web that alcohol based stains are very flexible for blending colors for gunstock work, and if you are not happy with the color you applied you can wet a rag with denatured alcohol and wipe away the stain you applied and get vary close to the bare wood. If the color is to dark, you can wipe with alcohol to lighten it up too. Often I apply a coat of walnut or dark brown and then wipe using the same rag some blood red, it can create really nice tones on walnut stocks. These stains offer lots of forgiving flexibility compared to oil based stains to get the “just right” color and contrast you want on a gunstock. Here are the stains I used: http://www.woodcraft.com/category/SU106-13/stains/behlen.aspx You can also blend this leather dye to get similar results: http://www.amazon.com/Fiebings-50-2046-BU-P-Leather-Dye/dp/B00XOXGUM2 I use the black dye to cover stippled areas on walnut stocks, it works very well. I have used the brown colors too with blood red behlen stains. The other side of puttying grips up is sanding and filing them down. 3D-printed grips sand and file like wood, but with a couple of important differences. First, if you go at them with a high-speed tool, like a Dremel, be very careful. The heat generated can deform and even outright melt the grip if you are not careful. Use a small rough drum and keep the speed slow. Secondly, don't forget that the grips are not solid, but a 1.5 mm thick shell over a sparse honeycomb matrix. If your work takes you through the shell don't worry. The material is so stiff you won't damage the grip's structural integrity and you can easily putty the hole back up.
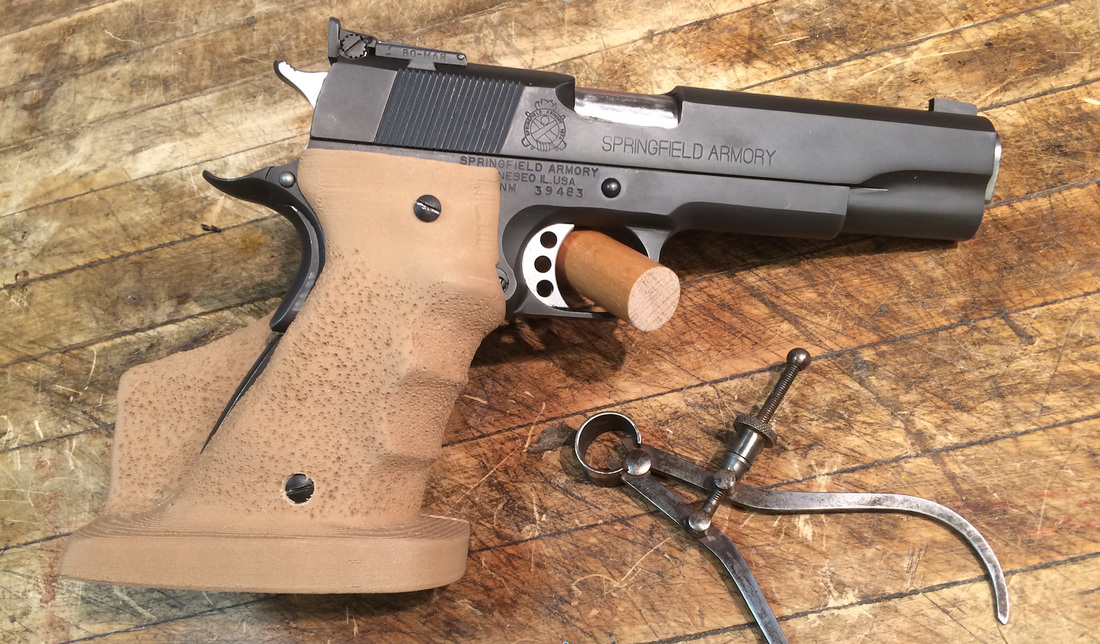
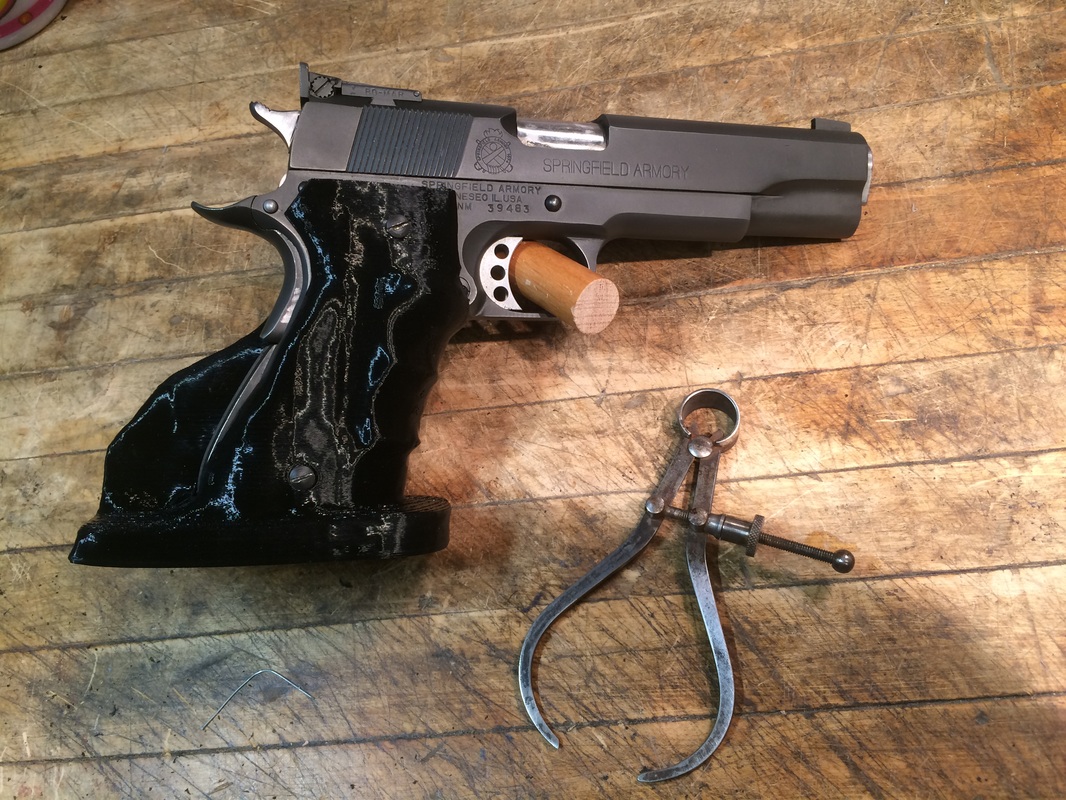
Something else to consider is the over-all finish. The PLA grips come off the printer rather shiny. Seemingly even more so as exacerbated by the lighting in my shop. I find that finish, particularly with the black PLA, a bit harsh in that light. That is one of the reasons I choose the pewter PLA when asked for my preference. Nothing is wrong with that finish, it just isn't my favorite. You'll discover once you start sanding that you can take the grip from shiny to matte very quickly with some sandpaper. This quick work also improves the feel in your hand. I have to admit I struggle a bit in delivering grips with a uniform finish. If I do nothing to them after they come off the printer they are maximally shiny, smooth and look great. But they also inevitably have a few stringy parts of material that need to get clipped, filed, or snipped off. This post-printing handwork is particularly evident in the places where the grip has overhangs, like the parts above your hand and middle finger. Grips are printed from the bottom up, one layer at a time with a tiny thread of extruded material. That material bonds to the layer immediately below it. These overhanging areas require a tower-like support that is cut away after printing. This tower gives those overhanging layers something to sit on until the layers above add their own stability. Clearing away those support towers results in a few areas being matte while the rest remains shiny. Below is the same grip. The first is fresh off the printer and the second is after a couple minutes of sandpaper work. Regardless of if your grip is a traditional wood one, 3D-printed, or something else, there isn't a much better way to build it up than start putting on some putty. Some people use wood filler, others something epoxy based. I've even seen a few with Bondo. There are lots of resources on-line for puttying up grips, so I'll not duplicate that here. Just know that your 3D-printed grip, be it PLA or wood composite, can take any sort of putty, just like a wood grip. Whether you want to just put a little here or there, or make a big change like Jake did by adding some additional real estate to his Pardini's palm shelf, don't be afraid to give it a try.
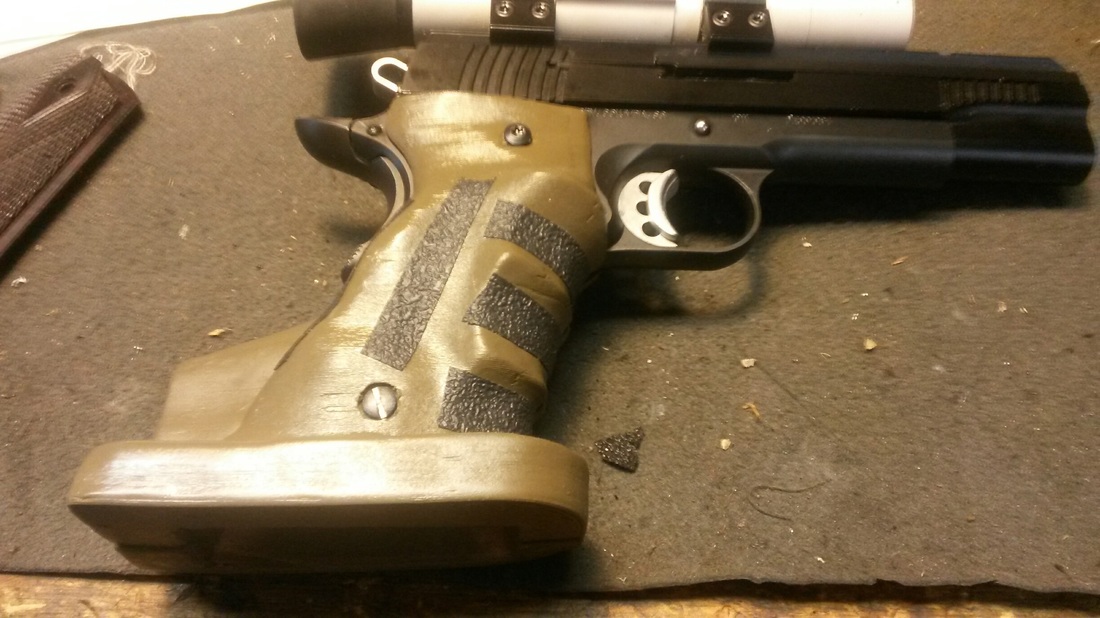
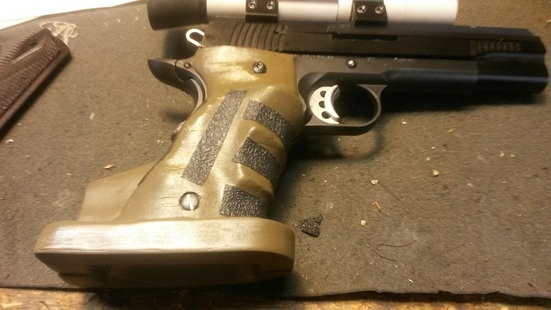
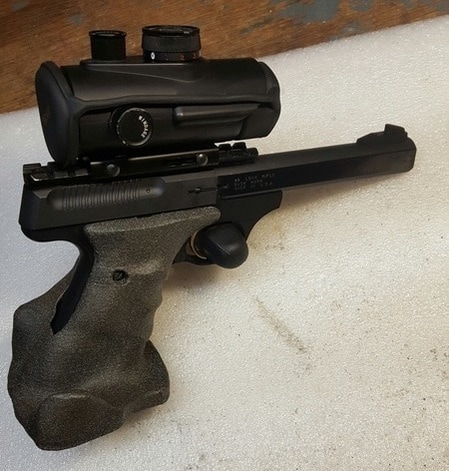
Jimmy, who has a lot of experience making and painting rifle stocks, wanted a special look for his 1911 grips. As you can see here, he went with a green paint job and some grip tape. The paint he used is Aluma-Hide II from Brownells. He chose it because it comes in a can, as opposed to DuraKote and Cerakote as they require mixing and a sprayer or air brush. If you have a story of a grip you've painted, please share it (and a photo) below. David had a similar plan for his Buckmark. Starting with a black PLA grip, he did some final fitting to his hand with round file and sandpaper and then applied Rust-oleum textured spraypaint.
|
Never DoneIt doesn't matter if you're still trying to find the black, or have been a High Master for so long you look at a 9 as a tragic mistake, you're probably never going to be done working on your grips. Archives
November 2017
Categories |

 RSS Feed